ADVERTISEMENT
Buster Bar Ice Cream Cake: A Decadent Frozen Treat for Any Occasion
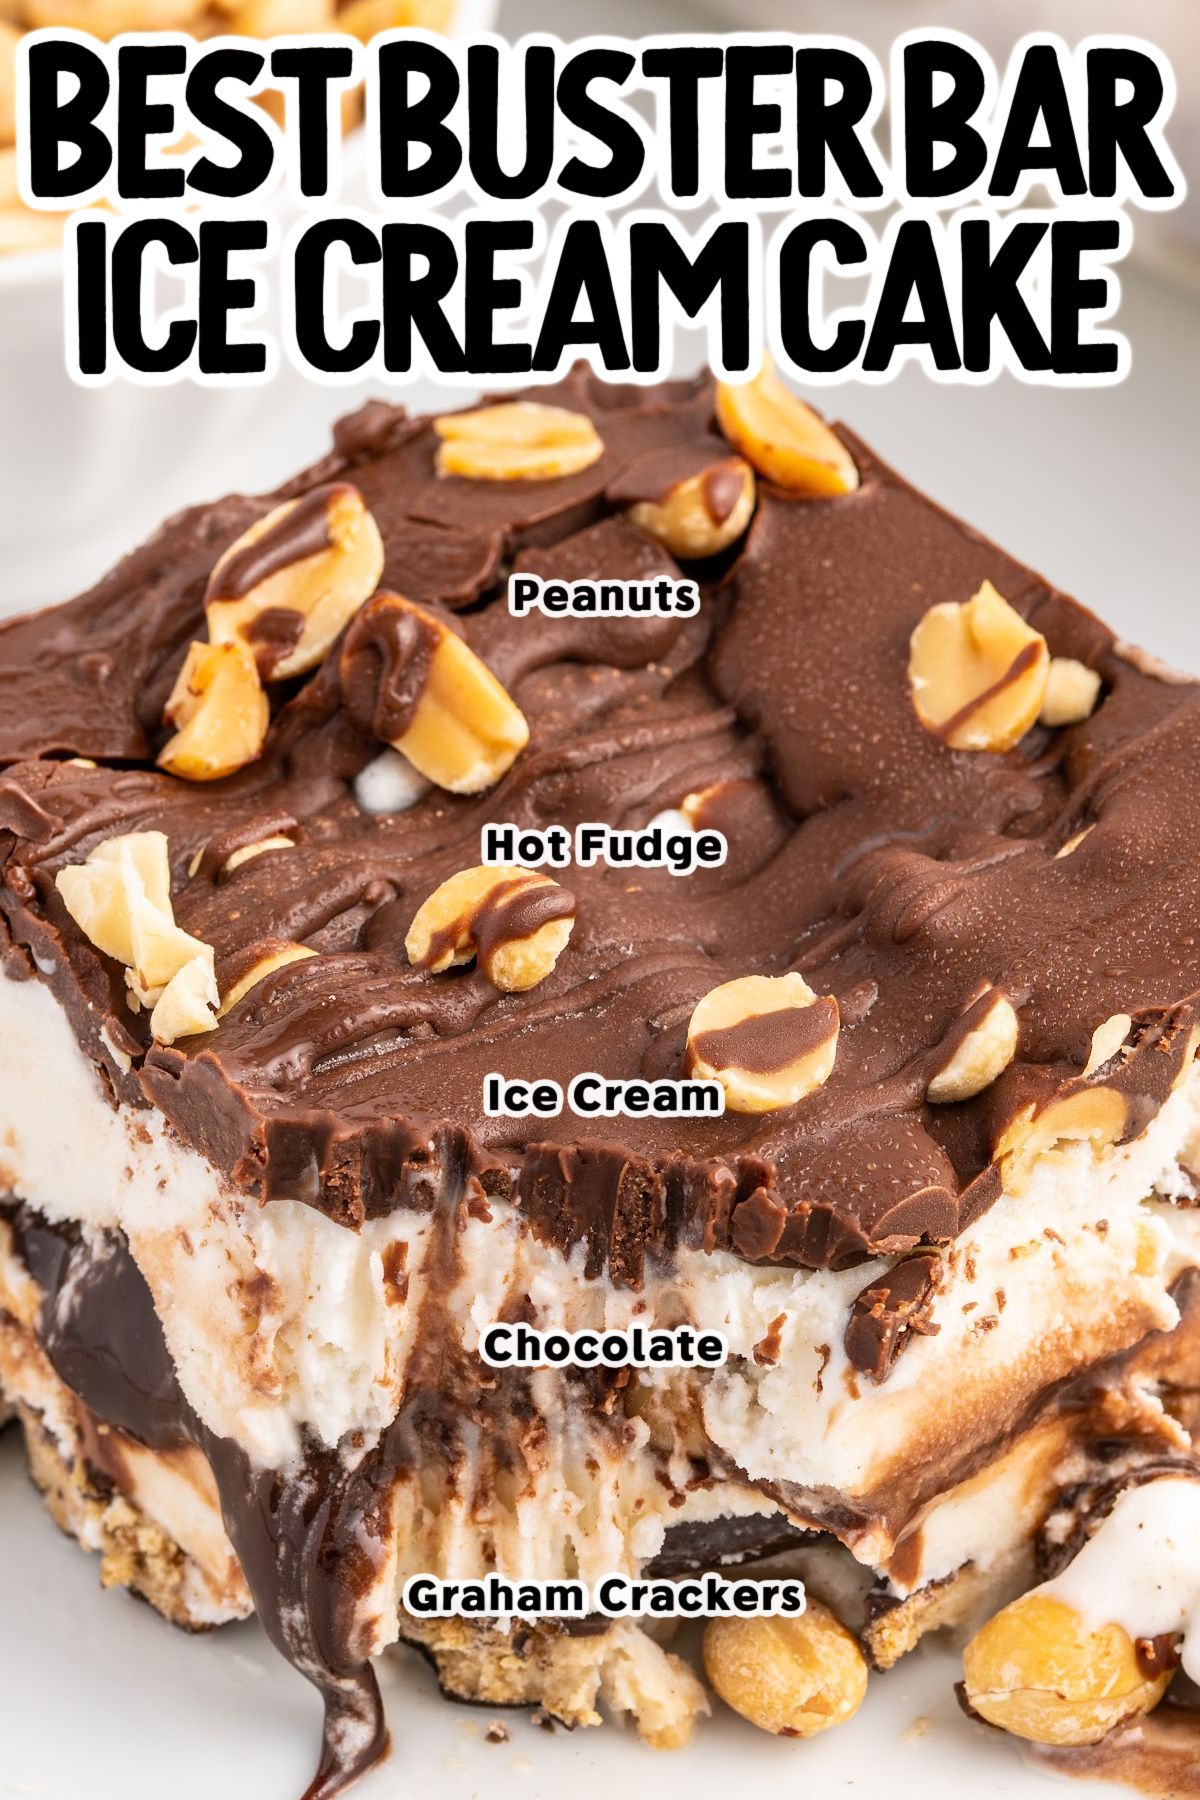
If you’ve ever indulged in a Buster Bar from Dairy Queen, you know how irresistible it is. Now, imagine that same perfect combination of chocolate, caramel, peanuts, and creamy vanilla ice cream, transformed into a show-stopping cake. That’s exactly what you get with this Buster Bar Ice Cream Cake—a dessert that will make you the hero of any celebration!
This homemade Buster Bar Ice Cream Cake brings together layers of vanilla ice cream, crunchy peanut topping, chocolate fudge, and a caramel swirl in an easy-to-make dessert that’s as fun to make as it is to eat. Whether it’s a birthday, holiday, or just a special treat for family and friends, this ice cream cake will leave everyone asking for seconds (and possibly the recipe).
In this article, we’ll walk you through the steps to create your own Buster Bar Ice Cream Cake, sharing tips and tricks for perfecting this delicious, frozen treat.
Why You’ll Love This Buster Bar Ice Cream Cake
There are so many reasons why Buster Bar Ice Cream Cake is the ultimate dessert. Here’s why it’s bound to be a favorite at your next gathering:
- Indulgent Layers: Every bite is a perfect mix of crunchy, creamy, and sweet—just like the iconic Buster Bar.
- Make Ahead: This cake can be made ahead of time and stored in the freezer until you’re ready to serve, making it the perfect dessert for parties and celebrations.
- Customizable: While the traditional Buster Bar features vanilla ice cream, peanuts, caramel, and chocolate, you can customize it to your liking with different ice cream flavors or toppings.
- No-Bake: This recipe doesn’t require any baking, making it a quick and easy dessert to assemble.
Let’s get started!
Ingredients
- 1 quart vanilla ice cream (or your favorite ice cream flavor)
- 1 1/2 cups peanuts, chopped (or salted peanuts)
- 1/2 cup caramel sauce
- 1/2 cup hot fudge sauce (store-bought or homemade)
- 1/4 cup unsalted butter
- 1 1/2 cups graham cracker crumbs
- 1/4 cup sugar
- 2 cups whipped topping (optional, for garnish)
- Chocolate chips (optional, for garnish)
- Extra peanuts (optional, for garnish)
For Complete Cooking STEPS Please Head On Over To Next Page Or Open button (>) and don’t forget to SHARE with your Facebook friends
ADVERTISEMENT
