ADVERTISEMENT
Instructions:
- Mix the Brine: In a large bowl or container, dissolve the salt (and sugar, if using) into the cold water. Stir until fully dissolved. If you’re adding extra flavorings like garlic, herbs, or peppercorns, add them to the brine mixture now.
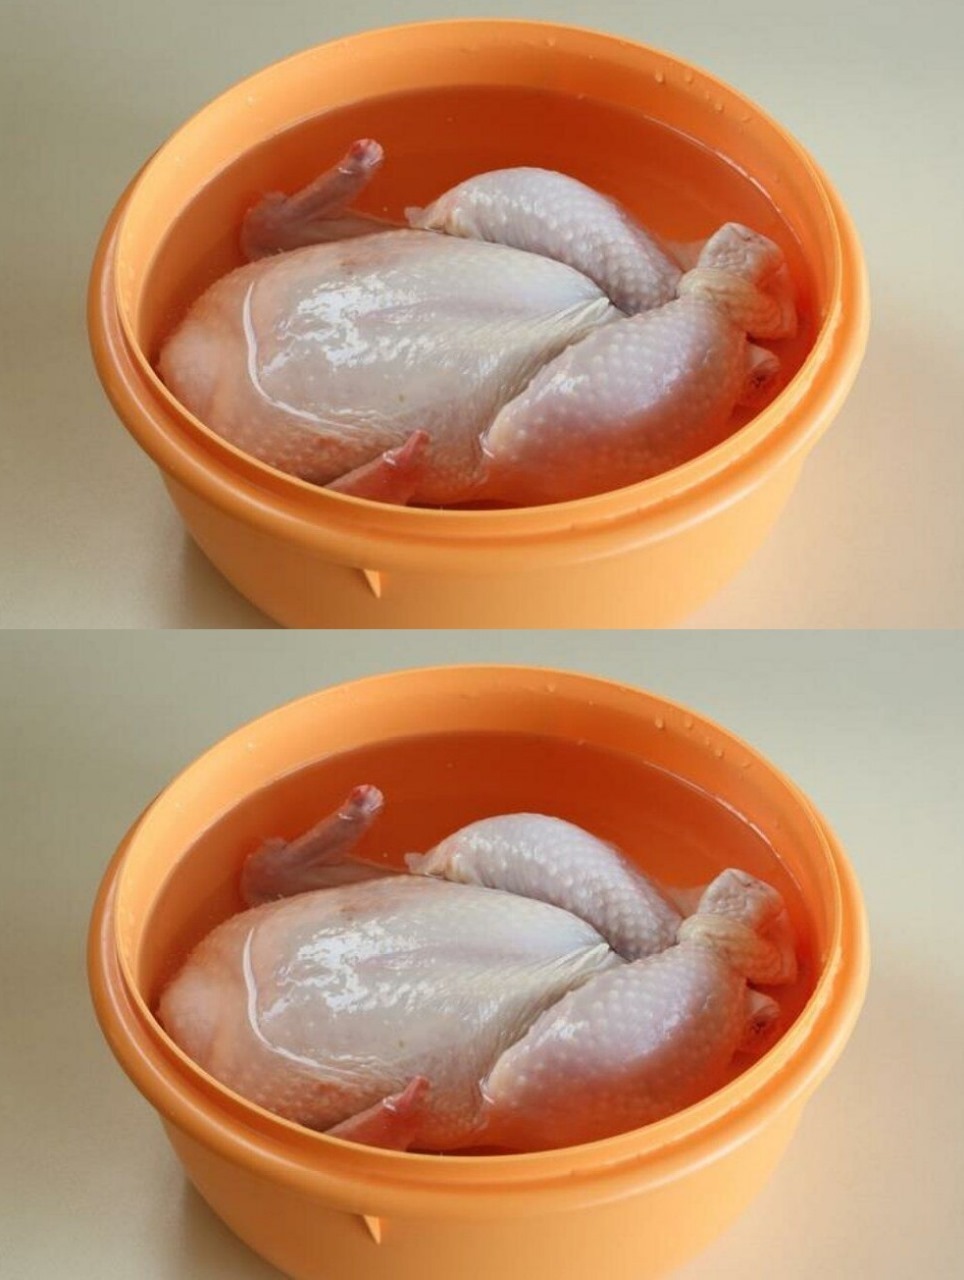
- Submerge the Chicken: Place your chicken (whether whole, breasts, thighs, or wings) in the brine. Make sure the chicken is fully submerged. If necessary, you can place a plate or bowl on top to keep the chicken under the water.
- Let It Sit: Refrigerate the chicken and allow it to soak for at least 30 minutes to 2 hours. For whole chickens or larger pieces, you can brine for up to 6 hours. Just make sure not to leave the chicken in the brine for too long, as it can make the meat too salty and affect the texture.
- Rinse and Dry: After brining, remove the chicken from the water and pat it dry with paper towels. This step is important because excess moisture on the surface can cause the chicken to steam rather than sear when cooking. If you used any aromatic ingredients like garlic or herbs, be sure to rinse them off to prevent overpowering the chicken.
- Cook as Desired: Now that your chicken is brined, you can cook it however you like—grilled, baked, roasted, or pan-fried. You’ll notice that the meat is juicier, more flavorful, and more tender than unbrined chicken.
Tips for Brining Success
- Don’t Over-Brine: Over-brining chicken can result in overly salty meat. Stick to the recommended soaking time—usually 30 minutes to 2 hours for smaller cuts, and up to 6 hours for whole chickens or larger pieces.
- Use Kosher Salt: Kosher salt has larger crystals and is less salty by volume than table salt, which makes it ideal for brining. If you only have table salt on hand, use about half the amount called for in the recipe (since table salt is more concentrated).
- Add Flavor Variations: While a simple saltwater brine is effective, you can enhance the flavor by adding herbs, garlic, citrus, or even a splash of apple cider vinegar. Experiment to find your favorite combination.
- Brine in a Container: It’s easiest to brine chicken in a large, sealable plastic bag or a container that can hold the chicken and the brine. If you’re working with a whole chicken, make sure you use a container large enough to submerge the entire bird.
- Don’t Skip the Drying: After removing the chicken from the brine, make sure to dry it thoroughly with paper towels. This will ensure that your chicken gets a beautiful sear when cooking, especially if you’re pan-frying or grilling.
Benefits of Brining Chicken
- Juicier Meat: By holding on to moisture, brined chicken stays juicy even when cooked through, reducing the risk of dryness.
- Better Flavor: The salt in the brine brings out the natural flavors of the chicken and allows any additional seasonings or marinades to penetrate the meat more effectively.
- Tenderness: The brining process helps tenderize the chicken, making it softer and easier to chew.
- More Forgiving: Brined chicken is more forgiving to slight overcooking since it has already absorbed moisture.
When to Brine Chicken
- Chicken Breasts: These can often turn out dry and flavorless, so brining is especially helpful for ensuring they stay moist and flavorful.
- Whole Chicken: Brining a whole chicken helps retain moisture and ensures that even the breast meat, which is prone to drying out, remains juicy.
- Chicken Thighs and Drumsticks: These cuts are naturally more forgiving, but brining still helps infuse them with flavor and ensure that they cook up tender.
- Skinless, Boneless Chicken: Without skin and bones to protect the meat, this cut can easily dry out, so brining is a great way to preserve moisture.
Conclusion
Soaking your store-bought chicken in salted water (a.k.a. brining) is a simple yet powerful technique that can take your cooking to the next level. By ensuring that your chicken remains moist, tender, and full of flavor, brining eliminates many of the common issues home cooks face when preparing chicken.
Whether you’re cooking chicken breasts, thighs, or a whole bird, adding this step into your routine will make all the difference. And the best part? It requires little more than salt, water, and a bit of time—so there’s no excuse not to give it a try. Once you experience the difference, you’ll wonder why you didn’t know about this trick earlier. Happy cooking!
ADVERTISEMENT
