ADVERTISEMENT
Day 2: Check for Signs of Activity
By the second day, you may not see much action yet, but that’s okay! Sometimes it takes a little longer for the wild yeast to start getting to work.
- You might see small bubbles on the surface or around the edges of the mixture, which is a sign that fermentation has begun. If you don’t see any bubbles, don’t worry—just give it another day.
Day 3: Feed Your Starter
By day 3, you should see some bubbling and signs of life in your starter. If there’s no bubbling yet, give it another day. When your starter starts bubbling, it’s time to “feed” it.
- Discard about half of your starter (about 1/4 cup). You do this to keep the balance between flour and water correct and to prevent the starter from getting too large too quickly.
- Add 50 grams of flour (whole wheat or rye) and 50 grams of water to the jar. Stir to combine.
Cover the jar again and let it sit for another day in the warm spot.
Day 4-6: Continue Feeding Your Starter
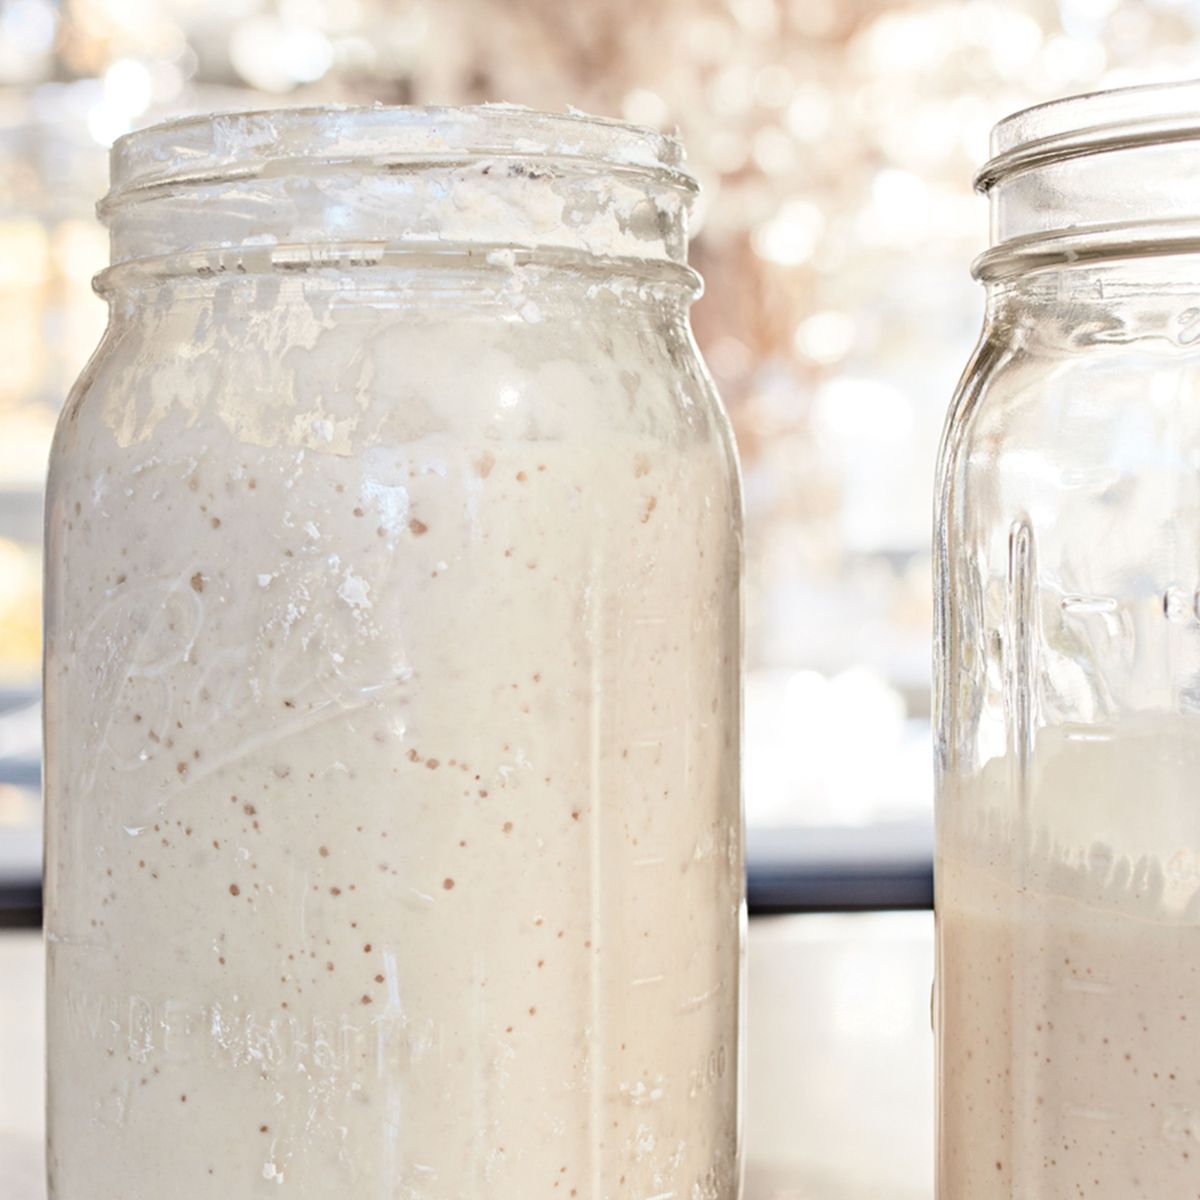
Repeat the feeding process every 24 hours by discarding half of the starter and adding fresh flour and water. By now, your starter should be developing a tangy smell and more bubbles, indicating that the wild yeast and bacteria are active.
Tip: You can switch to all-purpose flour after day 3 if you prefer, although some bakers recommend continuing with whole grain flour for the first week for a more robust culture.
At this point, your starter should be showing clear signs of fermentation: It should have a bubbly texture, a slightly sour smell, and should be doubling in size after each feeding.
Day 7: Your Starter is Ready to Use!
By day 7 (or sometimes a bit sooner or later, depending on the temperature and your flour), your sourdough starter should be bubbly, rise and fall predictably after feedings, and have a pleasant, slightly tangy smell. If it’s not there yet, keep feeding it for a few more days until it shows consistent activity.
Test your starter’s readiness: To check if your starter is strong enough to bake with, perform the float test. Take a small spoonful of starter and drop it into a glass of water. If it floats, it’s ready to use. If it sinks, give it a few more feedings and try again.
How to Maintain Your Sourdough Starter
Once your starter is healthy and bubbly, you can maintain it in one of two ways:
- Room Temperature: If you bake frequently (about once a week), you can keep your starter at room temperature. Simply continue to feed it daily with equal parts flour and water.
- Refrigeration: If you bake less often, you can store your starter in the fridge and feed it once a week. When you’re ready to bake, take it out, feed it for 1-2 days to bring it back to full strength, and then use it in your recipes.
Troubleshooting Your Sourdough Starter
While making a sourdough starter is usually straightforward, there are a few things to watch out for:
- No Bubbles or Activity: If after several days you don’t see any bubbles or notice any signs of fermentation, your starter might need more warmth or a different kind of flour. Be patient—it can take up to 10 days for a starter to fully develop.
- Smelly Starter: A sour, alcoholic smell can indicate that your starter is over-fermenting or not being fed regularly. If this happens, discard more of the starter before feeding, and try to give it a little more attention.
- Mold: If you notice any mold growing on top of your starter, discard it immediately and start again. Mold can sometimes develop in environments that are too humid or have been contaminated.
Using Your Sourdough Starter
Once your starter is bubbly and active, you’re ready to start baking sourdough bread, pancakes, waffles, and more. Here’s a basic process for using your starter in a sourdough bread recipe:
- Take 1 cup of your starter and mix it with water, flour, and salt.
- Knead the dough and allow it to ferment for several hours or overnight.
- Shape the dough and let it rise again.
- Bake the dough at a high temperature (typically around 450°F or 232°C) to get that beautiful crust and tangy flavor.
Your sourdough starter is now a living culture that will continue to grow, evolve, and provide you with fresh, homemade sourdough bread for years to come.
Conclusion: The Joy of Baking Sourdough
Making your own sourdough starter from scratch is a rewarding and enjoyable process. It might take a little time and patience, but the result is well worth it. Whether you’re an experienced baker or just getting started, creating a sourdough starter from scratch opens up a world of possibilities in the kitchen. And once you have it, you’ll be able to make your own tangy, delicious sourdough bread, pizza crusts, and more, all from your homemade starter.
Give it a try—there’s nothing quite like the satisfaction of baking with your own sourdough starter!
ADVERTISEMENT
