ADVERTISEMENT
Instructions:
Step 1: Combine Ingredients
In a medium-sized saucepan, combine the whole milk and sugar. Stir the mixture to help the sugar dissolve completely in the milk before heating.
Step 2: Heat the Mixture
Place the saucepan over medium heat and bring the mixture to a gentle simmer. Be sure to stir frequently to prevent the milk from scorching at the bottom. You’ll notice the sugar will dissolve, and the liquid will begin to thicken as it heats.
Step 3: Reduce the Mixture
Once the mixture starts to simmer, reduce the heat to low and continue cooking for about 30-45 minutes, stirring occasionally. You want the mixture to reduce by about half and become thick and creamy.
Be patient during this step—it’s what gives the condensed milk its rich, velvety consistency. As it thickens, it will also become slightly darker in color. If you’re concerned about burning or sticking, you can occasionally scrape the sides of the pan to bring down any milk solids that might have accumulated.
Step 4: Check the Consistency
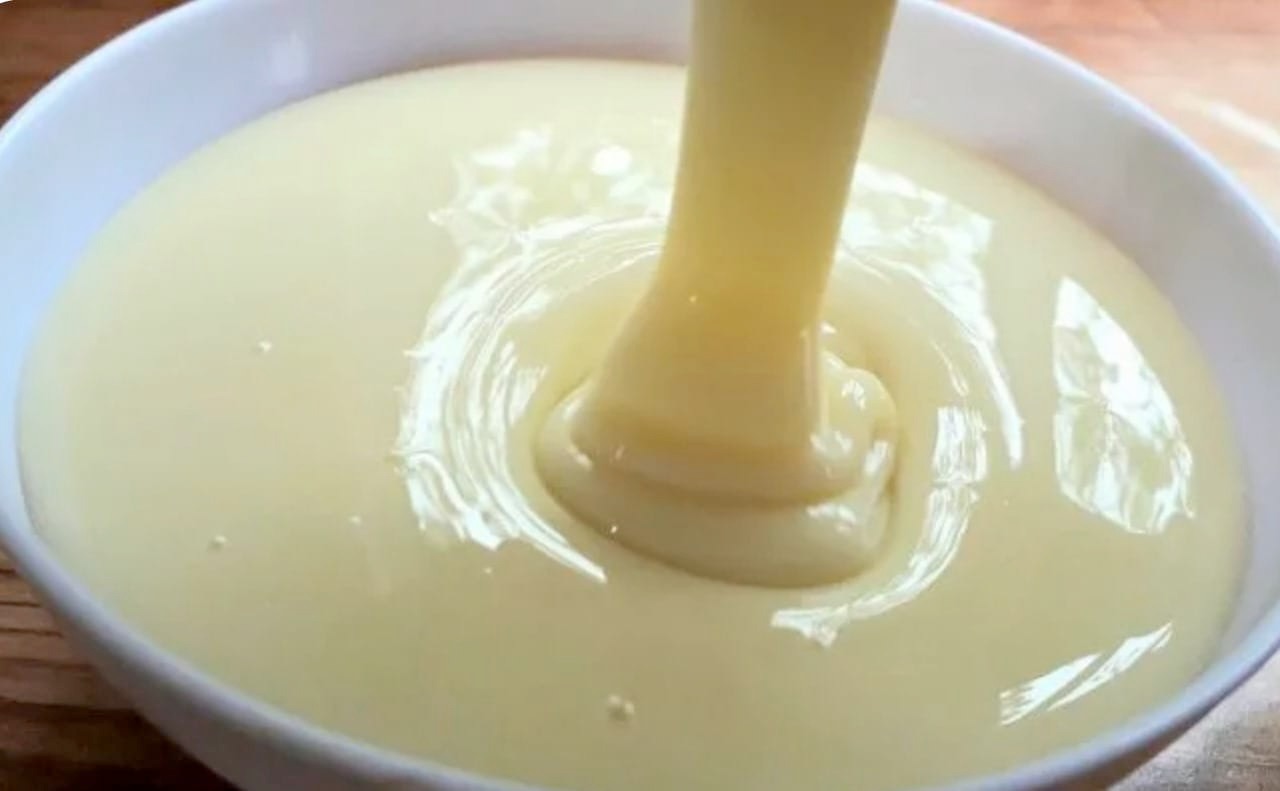
The condensed milk is done when it has reached a thick, syrupy consistency, similar to the texture of store-bought condensed milk. You can check by dipping a spoon into the mixture—if it coats the back of the spoon, it’s ready.
Step 5: Cool and Store
Once the mixture has thickened, remove it from the heat and let it cool for a few minutes. Pour the homemade condensed milk into a clean jar or container and allow it to cool completely before storing it in the refrigerator. The condensed milk will continue to thicken slightly as it cools.
How to Use Homemade Condensed Milk
Your homemade condensed milk is now ready to be used! Here are just a few ideas on how you can enjoy it:
- In Coffee or Tea: Add a spoonful to your morning cup for a creamy, sweetened drink.
- In Desserts: Use it as the base for making key lime pie, fudge, ice cream, or no-bake cheesecakes. It’s also great for baking in cakes or cookies that call for sweetened condensed milk.
- In Smoothies or Milkshakes: Use it to add richness and sweetness to fruit smoothies or milkshakes.
- Drizzle over Fruit: Pour over fresh fruit like berries or mangoes for a sweet, creamy topping.
Tips for Perfect Homemade Condensed Milk
- Stir Frequently: To prevent burning, it’s important to stir the mixture regularly, especially as it thickens. Low and slow is key for the perfect texture.
- Adjust the Sweetness: The recipe calls for equal parts sugar to milk, but you can easily adjust the sweetness to your liking. If you prefer a less sweet version, use a bit less sugar, or you can even substitute with honey or maple syrup for a different flavor profile (though this might alter the texture slightly).
- Use a Heavy-Bottomed Pan: A thick-bottomed saucepan helps distribute heat more evenly, preventing scorching and burning while the milk reduces.
- Let it Cool: As your condensed milk cools, it will thicken even further. If it’s too thick after cooling, you can thin it out with a little more milk, but keep in mind that it should still be a thick, syrupy consistency.
- Storage: Homemade condensed milk can be stored in an airtight container in the refrigerator for up to 1-2 weeks. The longer it sits, the thicker it may become, so just stir in a little extra milk to return it to the desired consistency.
Why Make Your Own Condensed Milk?
While store-bought condensed milk is convenient, homemade versions have several advantages:
- No Additives or Preservatives: Store-bought condensed milk often contains stabilizers and preservatives to prolong shelf life. By making it at home, you can enjoy a more natural, fresh product.
- Customizable Sweetness: You can control how sweet your condensed milk is, which can make a big difference in recipes where you want a more balanced sweetness level.
- Economical: A can of sweetened condensed milk can be expensive, and using it in recipes like fudge or pies often requires a full can. Making your own means you can control the amount you use and avoid waste. Plus, homemade condensed milk can be made in bulk, which is perfect for regular bakers.
- Satisfying: There’s something deeply satisfying about creating something as essential as condensed milk from scratch. Not to mention, it’s incredibly easy and requires just two ingredients!
Conclusion
Homemade 2-ingredient condensed milk is not only a delicious and versatile ingredient but also an economical way to elevate your cooking and baking. With just whole milk and sugar, you can create a rich, creamy base for a variety of recipes—from pies to drinks to cakes and beyond. Plus, making it yourself means you can avoid the preservatives and additives in store-bought versions, giving you a cleaner, more natural product.
Next time you’re ready to bake, make a batch of homemade condensed milk, and enjoy the satisfaction of creating a pantry staple from scratch. Whether you’re a seasoned baker or just looking for a way to sweeten your coffee, this simple recipe will quickly become a kitchen favorite!
ADVERTISEMENT
