ADVERTISEMENT
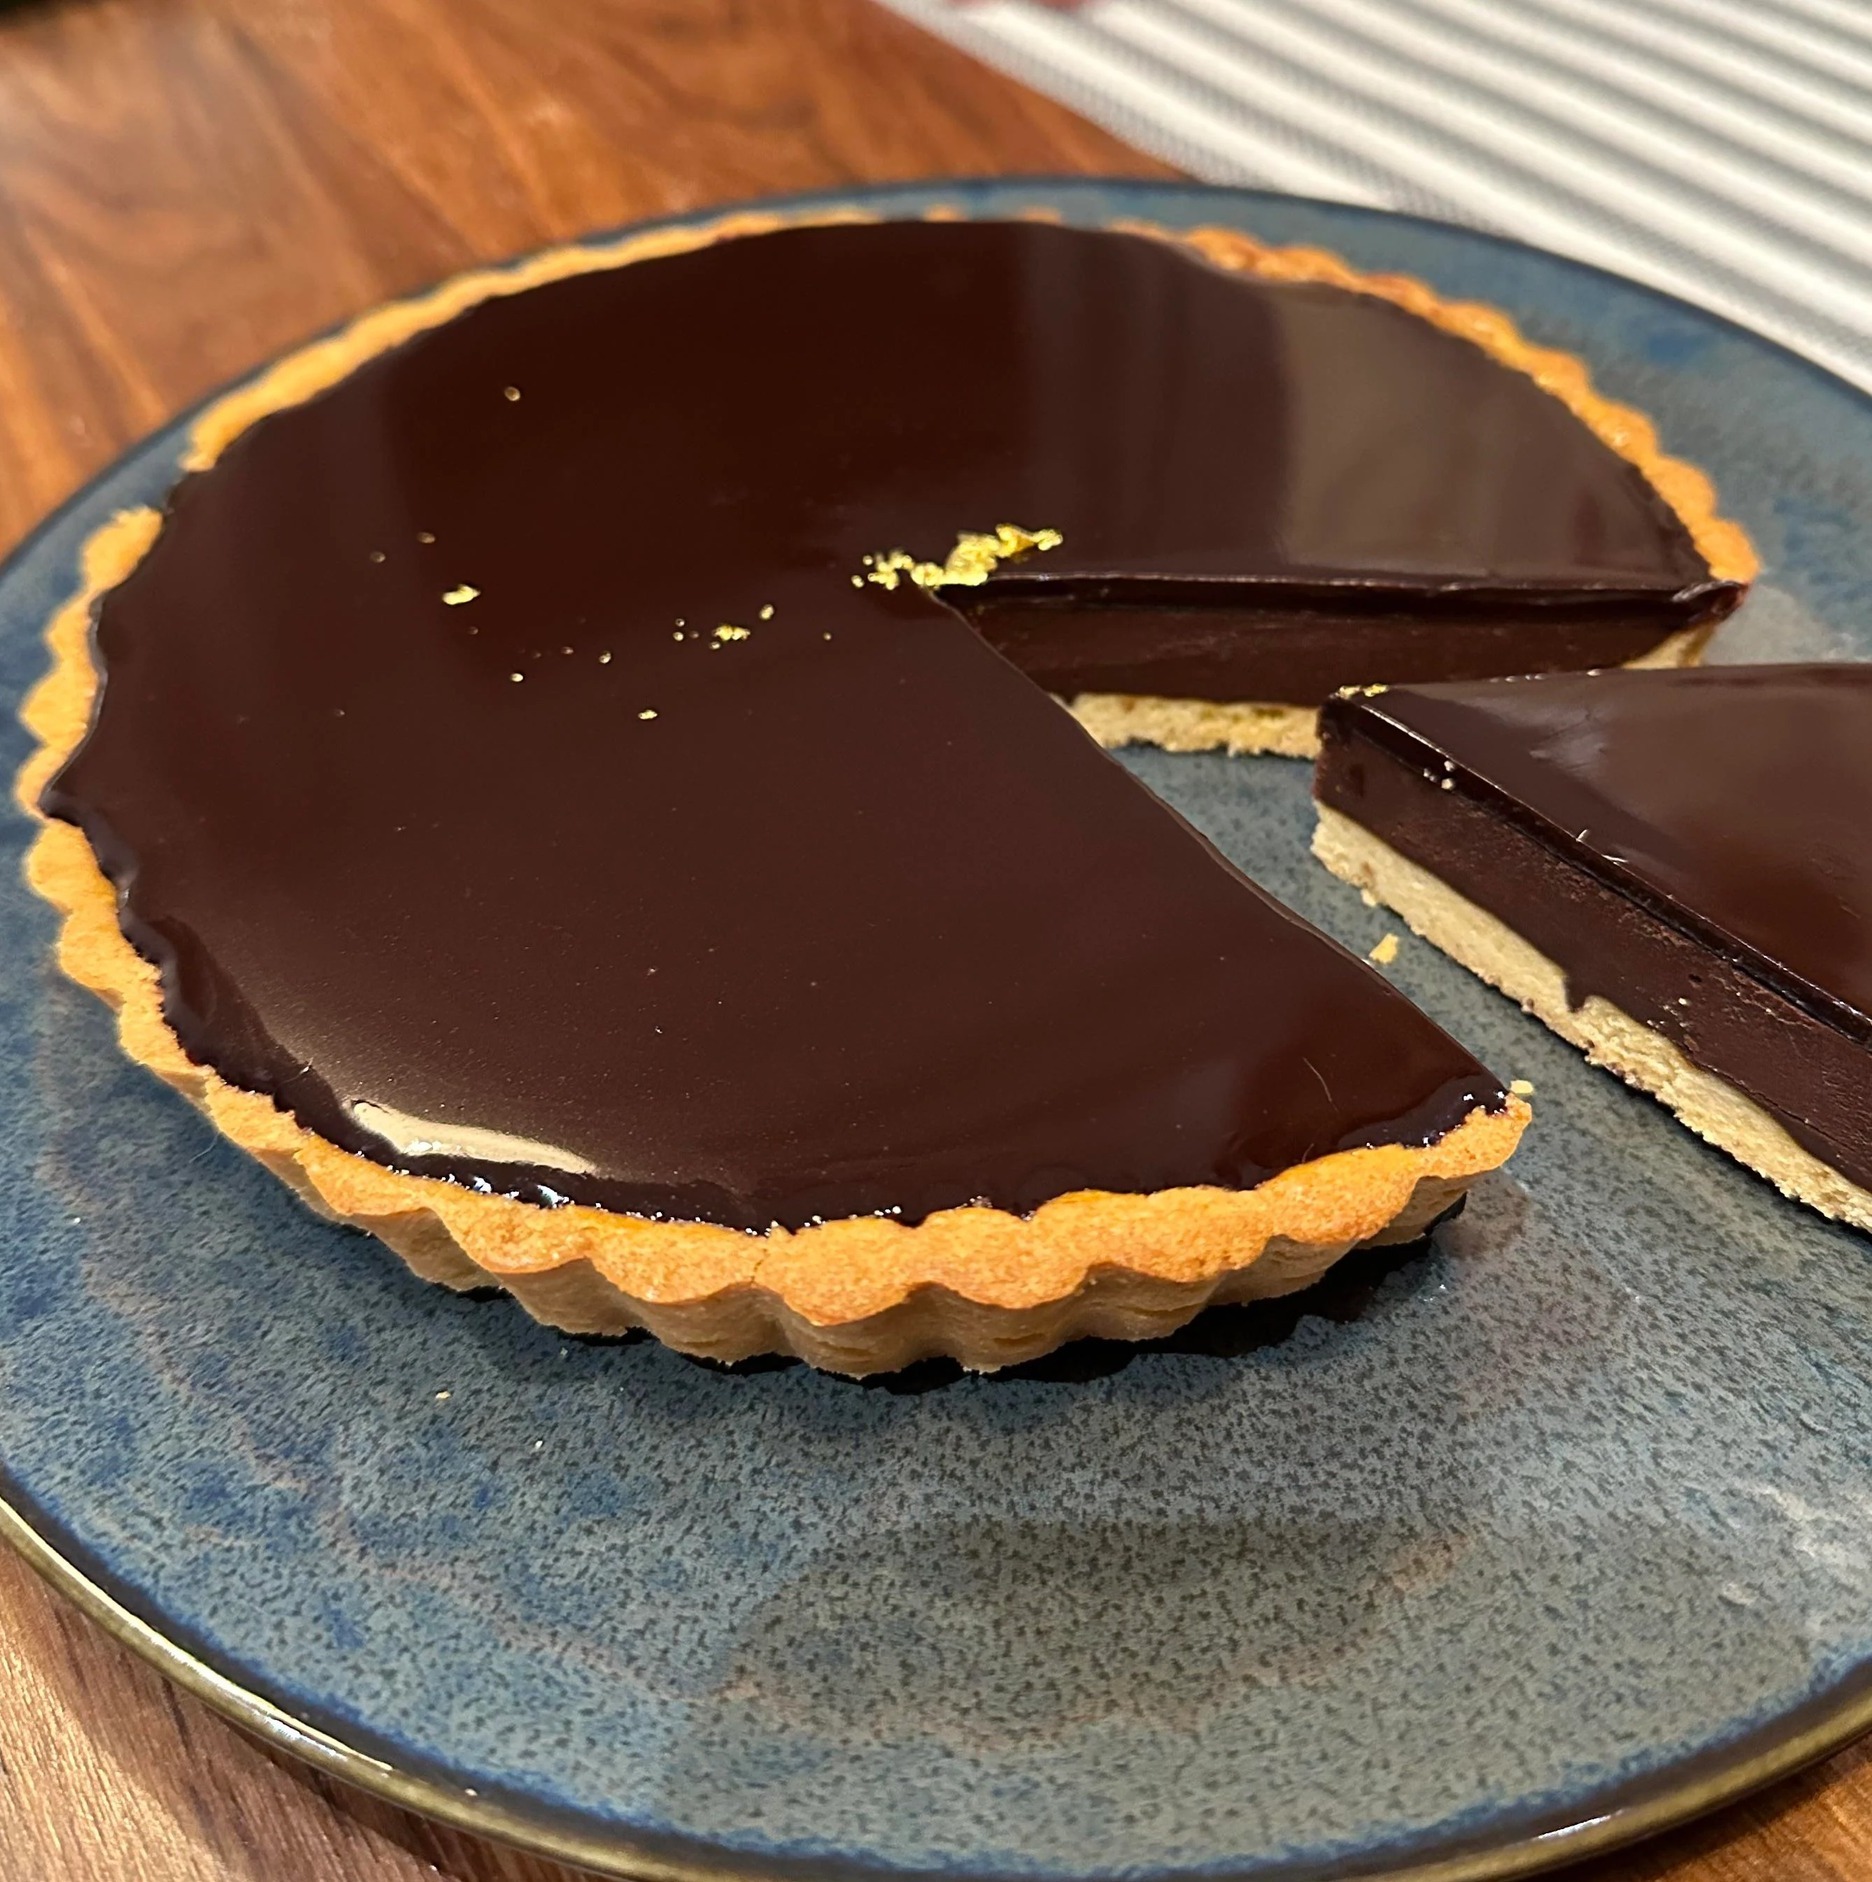
Step-by-Step Instructions to Make Grandma’s Homemade Chocolate Pie
Step 1: Prepare the Pie Crust
- Mix Dry Ingredients: In a large bowl, combine the flour and salt. Cut in the cold butter using a pastry cutter or your fingers until the mixture resembles coarse crumbs with pea-sized bits of butter.
- Add Water: Gradually add cold water, one tablespoon at a time, mixing gently until the dough begins to form. Be careful not to overwork the dough.
- Chill the Dough: Form the dough into a disk, wrap it in plastic wrap, and refrigerate for at least 30 minutes to allow the gluten to relax and the butter to firm up. This will help create a tender, flaky crust.
- Roll Out the Dough: Once chilled, roll out the dough on a floured surface to fit a 9-inch pie dish. Transfer it into the dish, crimping the edges with your fingers or a fork. Chill the crust again for about 15 minutes to prevent shrinking during baking.
- Bake the Crust: Preheat the oven to 375°F (190°C). Line the chilled crust with parchment paper or aluminum foil, fill it with pie weights or dried beans, and bake for 10 minutes. Remove the weights and parchment, and bake for another 5-7 minutes until the crust is golden and fully baked. Let it cool while you prepare the filling.
Step 2: Make the Chocolate Filling
- Combine Dry Ingredients: In a medium saucepan, whisk together the sugar, cocoa powder, cornstarch, and salt.
- Add Milk: Gradually whisk in the milk until smooth, making sure there are no lumps of cocoa powder or cornstarch.
- Cook the Mixture: Place the saucepan over medium heat and cook, stirring constantly, until the mixture thickens and comes to a boil. Once it reaches a boil, continue to cook and stir for 1-2 more minutes to ensure the filling is thick and fully cooked.
- Temper the Egg Yolks: In a separate bowl, lightly beat the egg yolks. Slowly add about 1/4 cup of the hot chocolate mixture to the eggs, whisking constantly to prevent curdling. Gradually pour the egg mixture back into the saucepan while whisking continuously. This process, known as tempering, ensures that the eggs don’t scramble.
- Finish the Filling: Continue to cook the mixture for another 1-2 minutes, stirring constantly, until it becomes thick and smooth. Remove from heat, and stir in the butter and vanilla extract until the butter is fully melted and the filling is glossy.
Step 3: Assemble the Pie
- Fill the Pie Shell: Pour the hot chocolate filling into the cooled pie crust. Use a spatula to smooth the top evenly.
- Chill: Let the pie cool at room temperature for about 30 minutes before transferring it to the refrigerator. Chill the pie for at least 3 hours or overnight to allow the filling to set and become firm.
Step 4: Serve and Enjoy
Once the pie has set, it’s ready to be served! Garnish with a dollop of whipped cream, chocolate shavings, or even a sprinkle of cocoa powder for an extra touch of elegance.
Tips for the Perfect Chocolate Pie
- Use High-Quality Cocoa: For the richest, most flavorful filling, be sure to use high-quality cocoa powder. Dutch-processed cocoa gives a smoother, richer taste, but natural cocoa works well too.
- Don’t Rush the Chilling: Allowing the pie to chill properly is essential for a smooth, set filling. If you skip this step, the filling may be too runny, and your pie may not hold together as it should.
- Add a Little Salt: A pinch of salt in the filling helps balance the sweetness and enhances the chocolate flavor, making the pie taste even more decadent.
- Make It Your Own: While Grandma’s recipe is perfect as is, feel free to get creative with toppings! Try adding crushed nuts, a drizzle of caramel sauce, or a sprinkle of sea salt for a modern twist.
Conclusion: A Slice of Tradition and Comfort
Grandma’s homemade chocolate pie is more than just a dessert; it’s a tradition, a piece of family history, and a reminder of the simple joys of life. The rich, velvety chocolate filling combined with a crisp, buttery crust is a treat that never goes out of style.
Whether you’re baking this pie for a holiday celebration, a family gathering, or just to treat yourself, you can be sure that each bite will be met with smiles and compliments. This timeless dessert has stood the test of time for a reason: it’s just that good.
So, gather your ingredients, follow the steps, and enjoy a slice of comfort, love, and chocolatey goodness that will have your family asking for seconds—and maybe even a third!
ADVERTISEMENT
