ADVERTISEMENT
Instructions
1. Brine the Chicken (Optional but Highly Recommended)
Brining the chicken helps ensure it stays juicy and flavorful after frying. Here’s how to do it:
- In a large bowl, whisk together the buttermilk, kosher salt, sugar, garlic powder, onion powder, paprika, and black pepper.
- Add the chicken pieces to the bowl, making sure the chicken is fully submerged in the brine. If needed, cover the bowl with plastic wrap and place it in the refrigerator for at least 2 hours (or up to 12 hours) to marinate. The longer the chicken sits in the brine, the more flavorful and juicy it will be.
2. Prepare the Coating
While the chicken is brining, you can prepare the flour coating:
- In a large shallow dish, combine the flour, cornstarch, paprika, garlic powder, onion powder, dried thyme (or oregano), cayenne pepper (if using), kosher salt, and black pepper. Mix everything well with a whisk to ensure the seasoning is evenly distributed.
- For an extra crispy coating, you can double-dip the chicken in the flour mixture by first dipping it in the seasoned flour, then dipping it back into the buttermilk brine (after removing it from the brine), and finally coating it again in the seasoned flour mixture. This creates a thicker, crunchier crust.
3. Heat the Oil
To get that perfect crispy exterior, the oil needs to be at the right temperature. Use a deep skillet or a Dutch oven and fill it with vegetable oil (or peanut oil), making sure there’s enough oil to submerge the chicken pieces.
- Heat the oil over medium-high heat to 350°F (175°C). You can check the temperature with a thermometer or by dropping a small amount of flour into the oil. If it sizzles and bubbles right away, the oil is ready.
- It’s important to keep the oil at the right temperature throughout the frying process. If the temperature drops too low, the chicken will absorb more oil and become greasy instead of crispy. If it’s too high, the outside will burn before the inside cooks properly.
4. Fry the Chicken
- Remove the chicken pieces from the buttermilk brine, letting any excess liquid drip off.
- Dredge each piece in the seasoned flour mixture, making sure the chicken is fully coated. For extra crunch, double-dip the chicken as described earlier.
- Carefully lower the chicken into the hot oil, one piece at a time. Do not overcrowd the pan, as this can cause the oil temperature to drop. Fry in batches if necessary.
- Fry the chicken for about 10-15 minutes, turning occasionally, until the coating is golden brown and crispy. The internal temperature of the chicken should reach 165°F (74°C) when checked with a meat thermometer.
- For even cooking, it’s best to start with dark meat (such as thighs and drumsticks) as they take longer to cook than white meat (such as breasts). If you’re using larger pieces, you may need to cook them a bit longer, but be sure not to overcook them, as this can make the chicken dry.
5. Drain and Rest
- Once the chicken is golden and crispy, remove it from the oil and place it on a wire rack set over a baking sheet to drain any excess oil. Avoid placing the chicken directly on paper towels, as this can make the crust soggy.
- Let the chicken rest for 5-10 minutes to allow the juices to redistribute before serving.
6. Serve and Enjoy
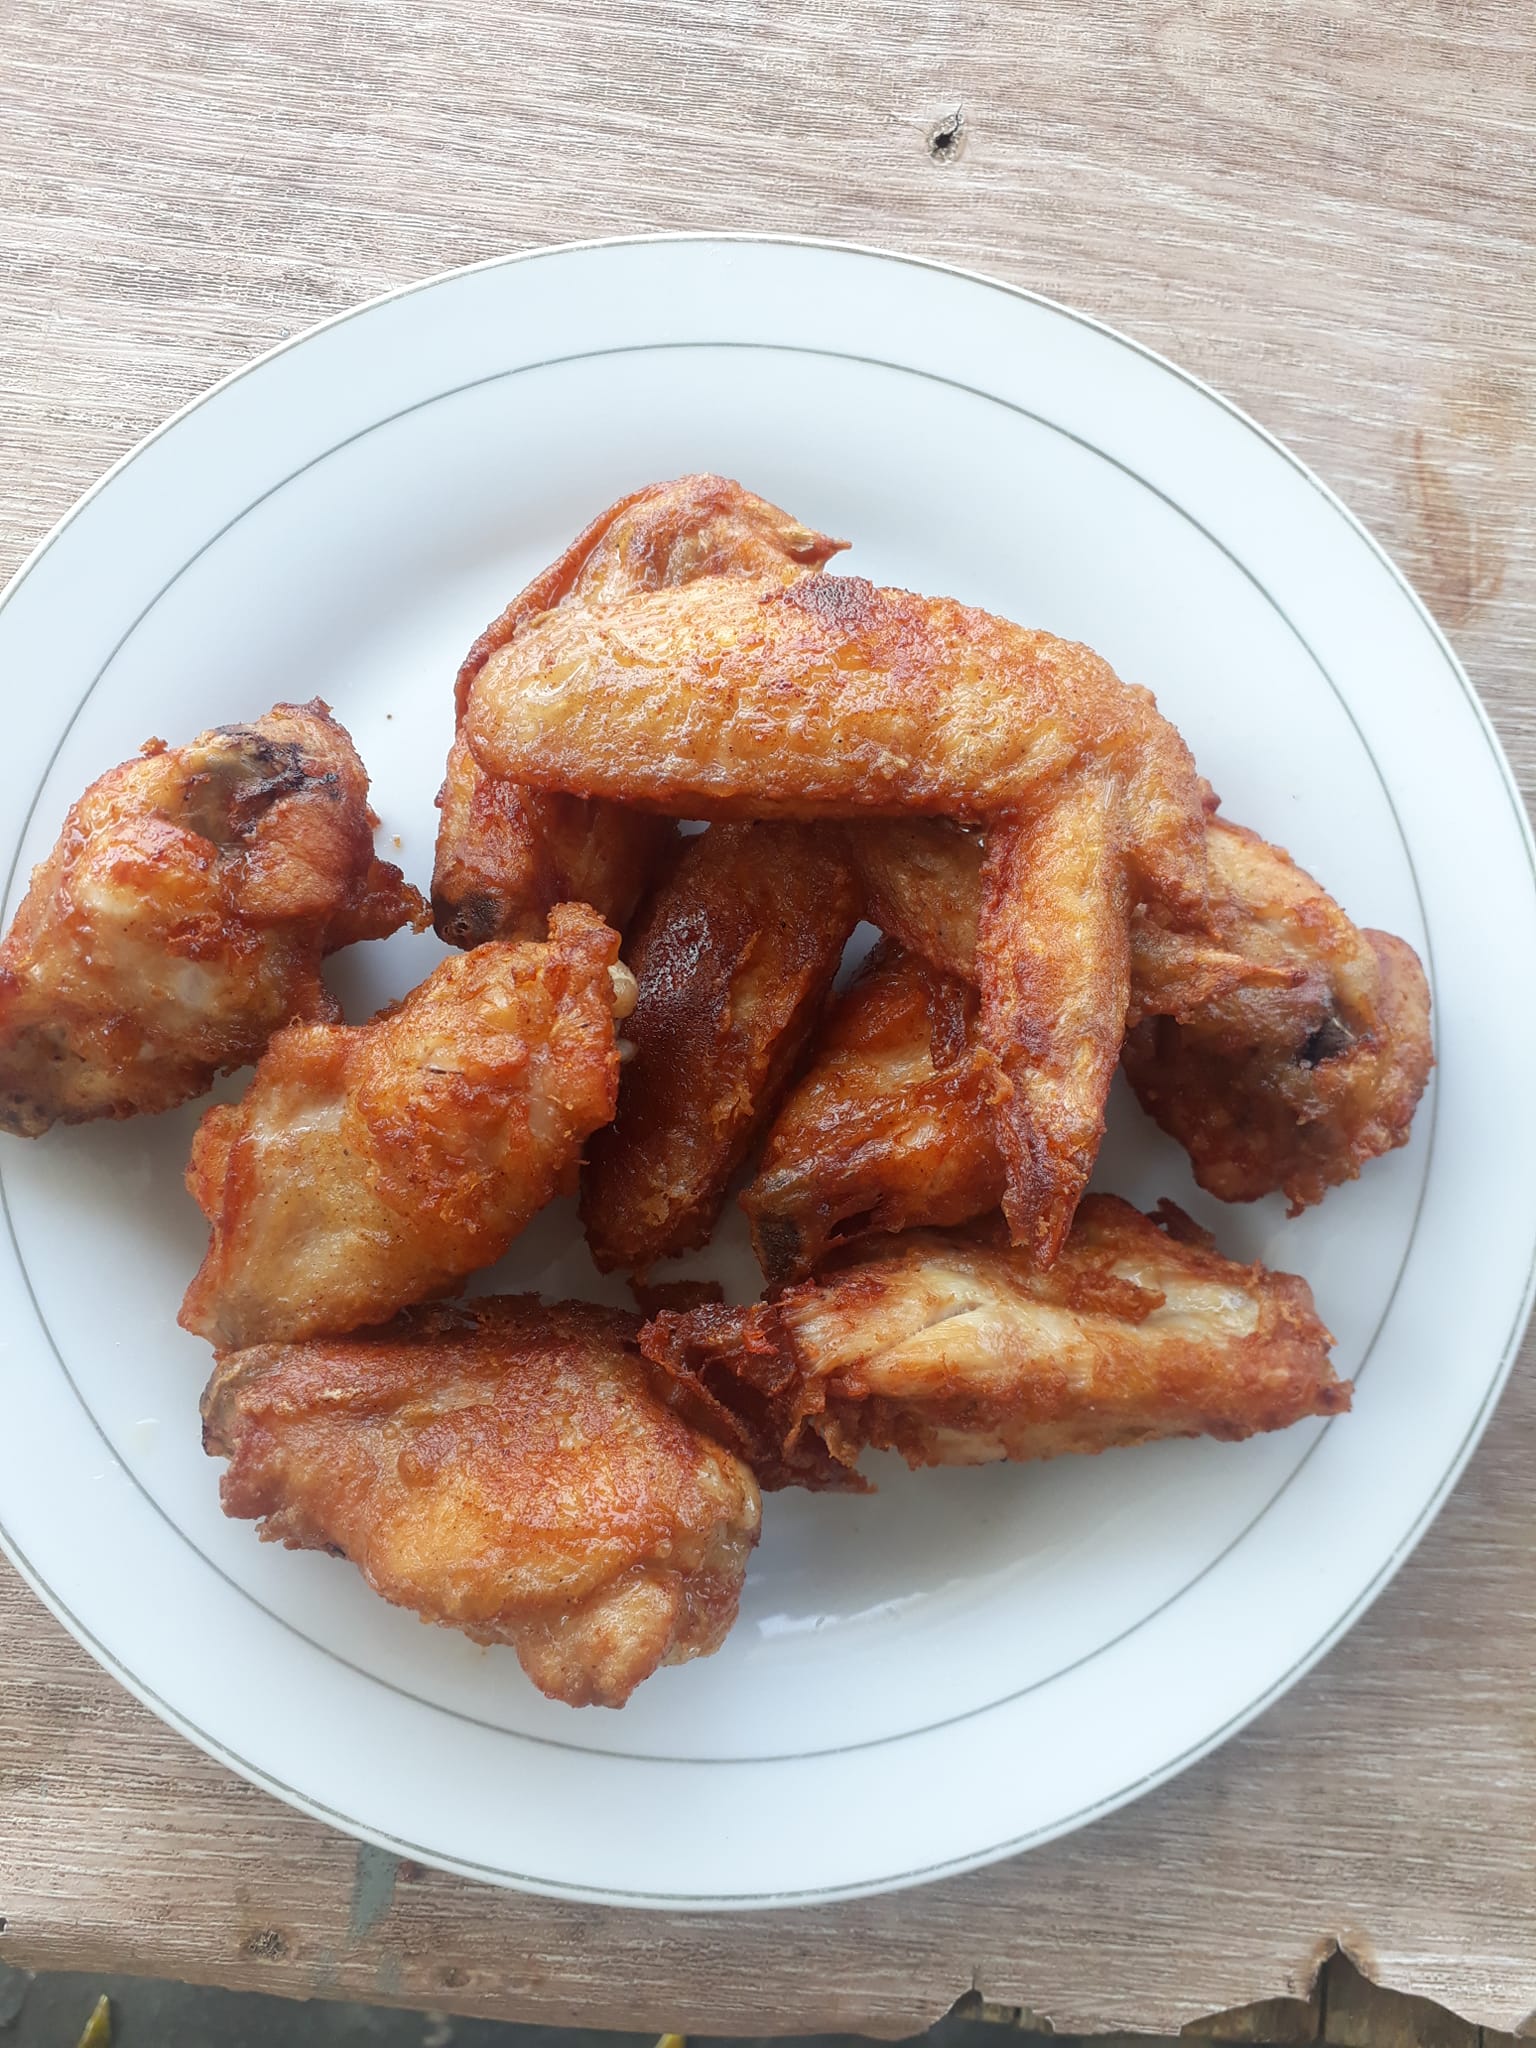
Serve your homemade fried chicken hot with your favorite sides like mashed potatoes, coleslaw, biscuits, or cornbread. Don’t forget a drizzle of honey or hot sauce if you like a little extra sweetness or heat!
Tips for Perfect Fried Chicken
- Don’t Skip the Brine: Brining your chicken in buttermilk (or a simple saltwater solution) is essential for juicy, flavorful meat. It helps tenderize the chicken and infuses it with seasoning, so make sure to plan ahead.
- Maintain Oil Temperature: Keep an eye on the oil temperature throughout the frying process. If the oil is too hot, the coating will burn before the chicken cooks through; if it’s too cool, the chicken will absorb excess oil and become greasy.
- Use a Meat Thermometer: To ensure the chicken is fully cooked without being overdone, use a meat thermometer to check that the internal temperature has reached 165°F (74°C).
- Double-Dip for Extra Crispiness: If you love an ultra-crunchy crust, try double-dipping the chicken in the flour mixture for a thicker coating that will fry up extra crispy.
- Rest the Chicken: After frying, let the chicken rest for a few minutes to help retain its juiciness. This also allows the crust to firm up and become even crunchier.
Variations
- Spicy Fried Chicken: Add extra cayenne pepper or your favorite hot sauce to the flour mixture for a spicy kick. You can also marinate the chicken in a spicy buttermilk mixture for more heat.
- Buttermilk Ranch Fried Chicken: Add ranch seasoning or a packet of ranch mix to the flour for a zesty twist on the classic recipe.
- Southern-Style Fried Chicken: For a traditional Southern-style fried chicken, you can also add paprika and white pepper to the flour for extra flavor depth.
Final Thoughts
Nothing beats a perfectly fried piece of chicken. Whether you’re cooking for a family dinner, preparing a picnic basket, or serving up a batch for a special gathering, this fried chicken recipe will always be a hit. By following these simple steps and tips, you can recreate the crispy, juicy fried chicken you crave right in your own kitchen.
With a flavorful brine, a crispy, seasoned coating, and a juicy, tender interior, this fried chicken is sure to become a go-to recipe in your repertoire. So, grab your ingredients, heat up the oil, and get ready to enjoy some deliciously crispy fried chicken!
ADVERTISEMENT
