ADVERTISEMENT
Step 4: Add the Dry Ingredients
In a separate bowl, whisk together the flour, cocoa powder, baking soda, baking powder (if using), and salt. Slowly add the dry ingredients to the wet mixture, stirring until just combined. Be careful not to overmix, as that can result in a dense loaf.
Step 5: Fold in the Walnuts
Gently fold the chopped walnuts into the batter. If you’re adding any extra mix-ins like chocolate chips or dried fruit, this is the time to add them. Stir until they are evenly distributed throughout the batter.
Step 6: Pour the Batter into the Pan
Pour the batter into your prepared loaf pan, spreading it out evenly. Smooth the top with a spatula if needed.
Step 7: Bake the Loaf
Place the loaf pan in the preheated oven and bake for 55-65 minutes, or until a toothpick or cake tester inserted into the center comes out clean or with just a few moist crumbs. Every oven is different, so keep an eye on the loaf as it bakes—if the top starts to brown too quickly, you can cover it loosely with foil and continue baking until done.
Step 8: Cool and Serve
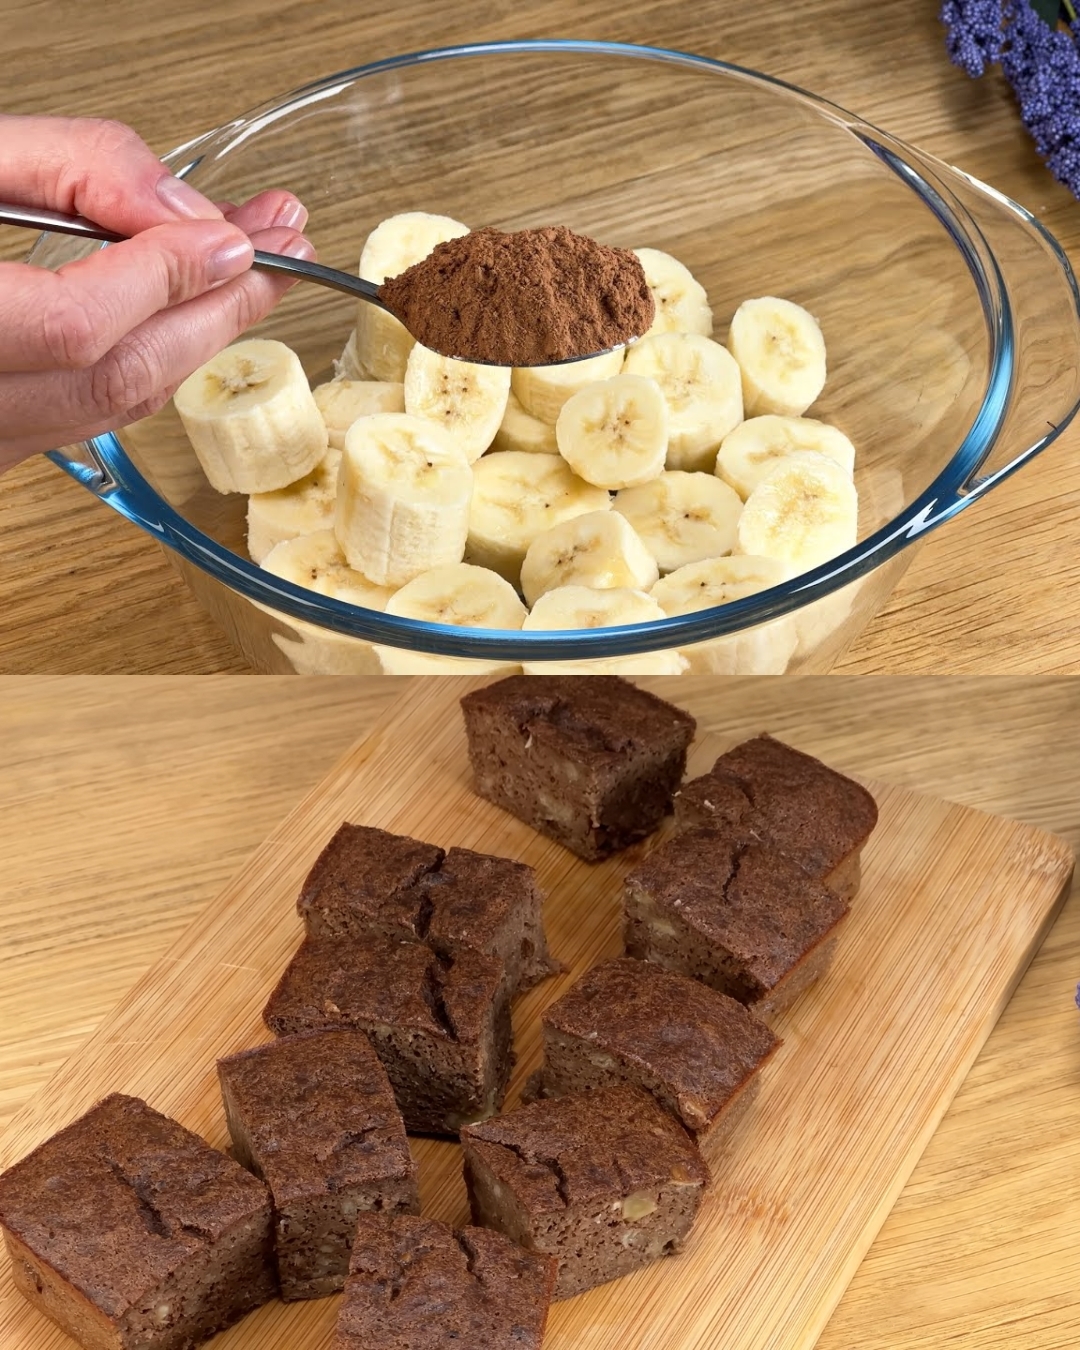
Once baked, remove the loaf from the oven and let it cool in the pan for about 10 minutes. Then transfer it to a wire rack to cool completely before slicing. This step ensures that the loaf holds together and doesn’t crumble when you cut into it.
Tips for Perfect Banana Cocoa Walnut Loaf
- Use Overripe Bananas: The riper the bananas, the sweeter and more flavorful the loaf will be. Bananas with brown spots are perfect for baking since they are soft and extra sweet.
- Don’t Overmix the Batter: Overmixing can lead to a dense loaf. Mix the wet and dry ingredients just until combined for a light, tender crumb.
- Add Extra Mix-ins: For extra richness, try adding a handful of chocolate chips or a tablespoon of peanut butter to the batter. You can also swap the walnuts for pecans or even add a swirl of Nutella for a more indulgent treat.
- Check for Doneness: Start checking your loaf around the 55-minute mark. Insert a toothpick into the center—if it comes out clean, it’s ready. If it’s still wet, bake for an additional 5-10 minutes.
- Store Properly: Store any leftover banana cocoa walnut loaf in an airtight container at room temperature for up to 3 days. For longer storage, wrap it tightly and freeze for up to 2-3 months.
Serving Ideas
- Warm with Butter: For an extra indulgent treat, serve a slice of this loaf warm with a pat of butter or a drizzle of honey.
- With Ice Cream or Whipped Cream: Turn this loaf into a dessert by serving it with a scoop of vanilla ice cream or a dollop of whipped cream.
- Pair with Coffee or Tea: This loaf makes the perfect companion to a cup of coffee, black tea, or herbal tea. The deep chocolatey flavor pairs wonderfully with a warm beverage.
- Toast It: For an added crunch, slice the loaf and toast it in the oven for a few minutes before serving. The outside gets crispy while the inside remains soft and gooey.
Why This Recipe Works
- Balance of Flavors: The combination of sweet, ripe bananas and the rich cocoa creates a deep, satisfying flavor. The walnuts provide a crunchy texture that complements the softness of the loaf.
- Moist Texture: The addition of mashed bananas and oil (or butter) keeps the loaf incredibly moist, ensuring that every bite is tender and flavorful.
- Perfect for Meal Prep: This banana cocoa walnut loaf is great for meal prep. Bake it ahead of time and store it in an airtight container for easy breakfasts or snacks throughout the week.
Conclusion
This Banana Cocoa Walnut Loaf is a perfect balance of sweet, rich, and nutty flavors, making it an irresistible treat for any occasion. Whether you’re looking for a cozy breakfast, a snack to enjoy with your coffee, or a decadent dessert, this loaf is sure to hit the spot. Plus, it’s easy to make, so you’ll find yourself baking it often. Try it today and treat yourself to a slice of this deliciously indulgent, yet wholesome, banana cocoa loaf!
ADVERTISEMENT
