ADVERTISEMENT
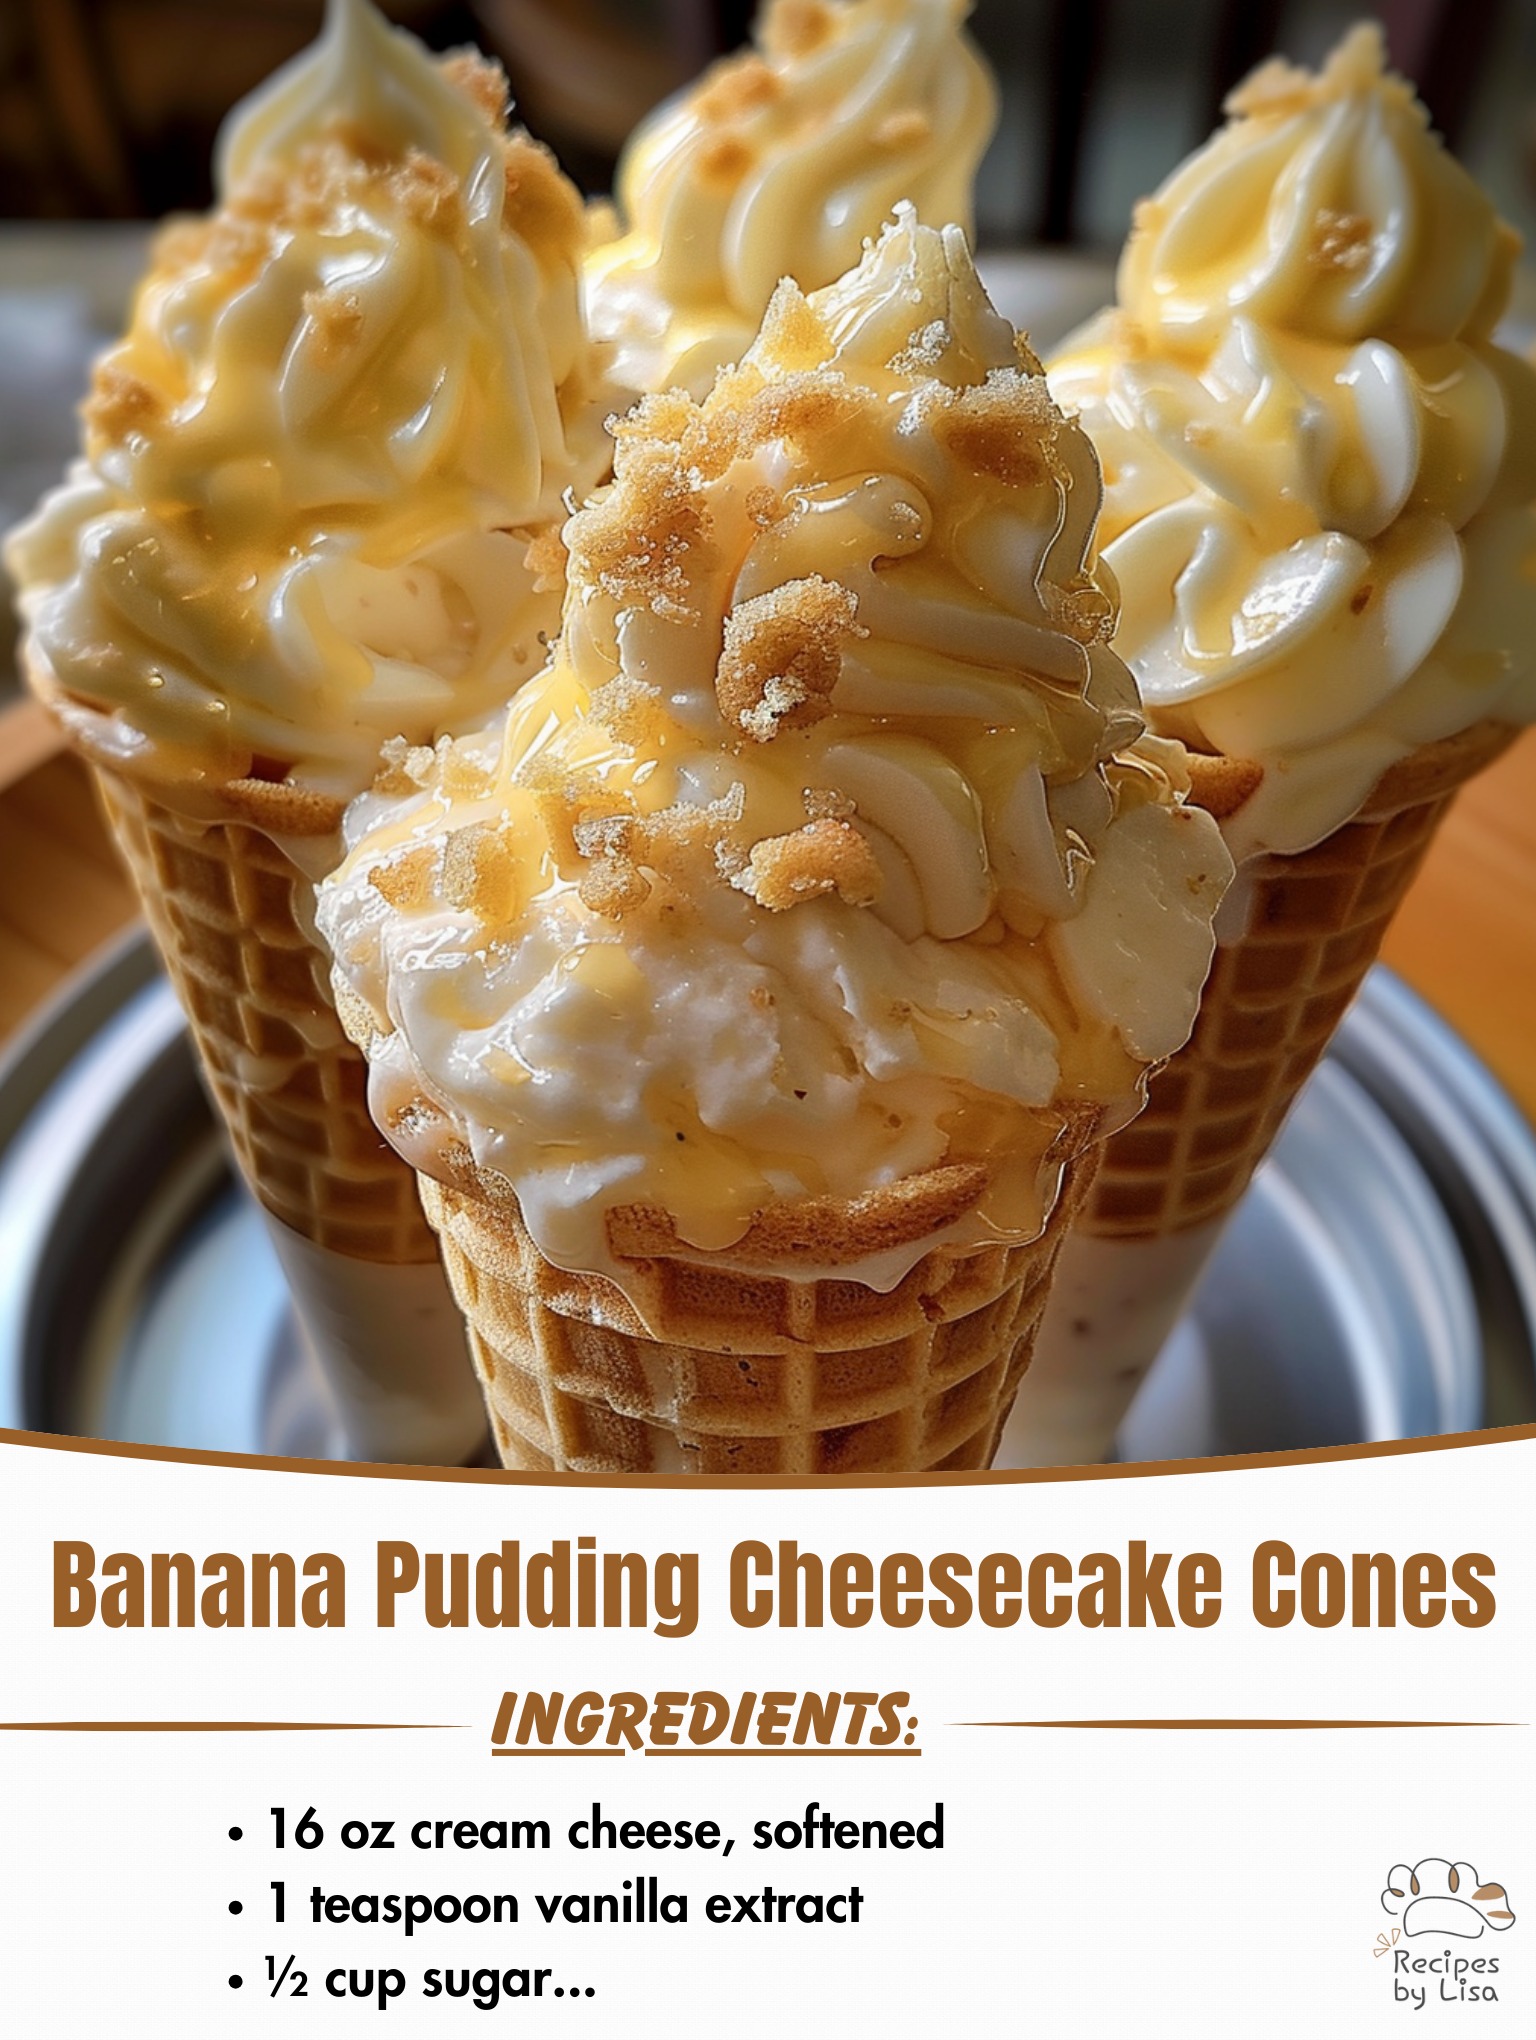
### Banana Pudding Cheesecake Cones – A Dreamy Delight!
If you’re searching for a dessert that combines the creamy indulgence of cheesecake with the nostalgic flavor of banana pudding, look no further than **Banana Pudding Cheesecake Cones**! These delightful treats are not only visually appealing but also incredibly easy to make, making them the perfect addition to any gathering or a sweet surprise for your loved ones.
#### Why You’ll Love These Cones
1. **No-Bake Delight**: This recipe requires no baking, making it perfect for warm days when you want a refreshing treat without turning on the oven.
2. **Flavorful Layers**: Each cone is filled with layers of creamy cheesecake mixture, fresh banana slices, and crunchy Nilla wafers, creating a perfect harmony of flavors and textures.
3. **Portion Control**: The individual servings make it easy to enjoy a sweet treat without overindulging.
#### Ingredients You’ll Need
– **For the Cheesecake Filling**:
– 8 oz cream cheese, softened
– 1/2 cup powdered sugar
– 1 cup whipped topping (like Cool Whip)
– 1 teaspoon vanilla extract
– 1/2 teaspoon banana extract (optional for extra flavor)
– **For the Assembly**:
– 4-5 ripe bananas, sliced
– 1 cup Nilla wafers, crushed (plus more for garnish)
– 6-8 ice cream cones (waffle or regular)
– **For Garnish** (optional):
– Whipped cream
– Additional banana slices
– Crushed Nilla wafers
For Complete Cooking STEPS Please Head On Over To Next Page Or Open button (>) and don’t forget to SHARE with your Facebook friends
#### Step-by-Step Instructions
**Step 1: Prepare the Cheesecake Filling**
1. In a mixing bowl, combine the softened cream cheese and powdered sugar. Use an electric mixer to beat until smooth and creamy.
2. Add the whipped topping, vanilla extract, and banana extract (if using). Gently fold the ingredients together until fully combined.
**Step 2: Prepare the Cones**
1. Take your ice cream cones and stand them upright in a cup or muffin tin for stability while you fill them.
**Step 3: Layer the Filling**
1. Begin by placing a layer of crushed Nilla wafers at the bottom of each cone. This will create a crunchy base and prevent the filling from leaking.
2. Spoon a layer of the cheesecake filling into each cone, filling them about halfway.
3. Add a layer of banana slices on top of the cheesecake filling, followed by another layer of crushed Nilla wafers.
**Step 4: Repeat the Layers**
1. Continue layering the cheesecake filling and banana slices until the cones are filled to the top. Finish with a generous dollop of cheesecake filling.
**Step 5: Garnish and Chill**
1. Top each cone with whipped cream, additional banana slices, and crushed Nilla wafers for added texture and presentation.
2. Place the cones in the refrigerator for at least 30 minutes to allow the flavors to meld and the cones to chill.
**Step 6: Serve and Enjoy**
1. Serve the Banana Pudding Cheesecake Cones chilled and enjoy the delightful combination of flavors and textures!
### Tips for Perfect Banana Pudding Cheesecake Cones
– **Choose Ripe Bananas**: The riper the bananas, the sweeter and creamier they will be, enhancing the overall flavor of your cones.
– **Mix and Match**: Feel free to mix in other fruits like strawberries or blueberries for a twist on the classic banana pudding flavor.
– **Make Ahead**: These cones can be prepared a few hours in advance; just be sure to store them in the fridge until you’re ready to serve.
### Conclusion
**Banana Pudding Cheesecake Cones** are a dreamy delight that brings together the best of both worlds—creamy cheesecake and the classic taste of banana pudding—all wrapped up in a fun and portable cone. Perfect for parties, picnics, or just a sweet treat at home, these cones are sure to impress with their delicious layers and appealing presentation. Whip up a batch and treat yourself and your loved ones to this easy, no-bake dessert that’s guaranteed to bring smiles to every face!
ADVERTISEMENT
